
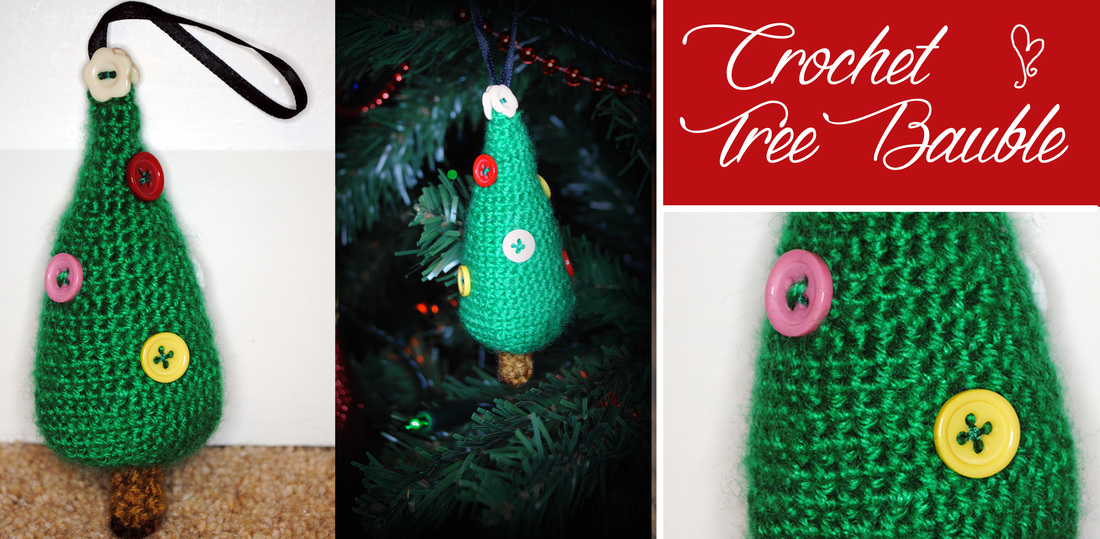
 Getting into the Christmas spirit? This little crochet project is perfect for an afternoon in front of the fire, and looks cute hanging on the tree! What you need: green wool brown wool 3.5mm hook ribbon buttons, needle and thread stuffing Stitches: St – stitch sc – single crochet inc – increase dec – decrease The pattern is worked in continuous rounds, do not join or turn at the end of each round. For the body Round 1 Create a magic rig with 5sc. Pull ring closed (5 sts) Round 2 [sc in each st around] (5 sts) Round 3 [2-sc inc] repeat (10 sts) Rounds 4-5 [sc in each st around] (10 sts) Round 6 [sc x1, 2-sc inc] repeat (15 sts) Rounds 7-8 [sc in each st around] (15 sts) Round 9 [sc x2, 2-sc inc] repeat (20 sts) Rounds 10-11 [sc in each st around] (20 sts) Round 12 [sc x3, 2-sc inc] repeat (25 sts) Rounds 13-14 [sc in each st around] (25 sts) Round 15 [sc x4, 2-sc inc] repeat (30 sts) Rounds 16-17 [sc in each st around] (30 sts) Round 18 [sc x5, 2-sc inc] repeat (35 sts) Rounds 19-20 [sc in each st around] (35 sts) Round 21 [sc x6, 2-sc inc] repeat (40 sts) Rounds 22-23 [sc in each st around] (40 sts) Using the yarn needle, thread the ribbon in a loop at the top to create a hanging loop. Sew on the buttons/embellishments. Round 24 [sc x6, 2-sc dec] repeat (35 sts) Round 25 [sc x5, 2-sc dec] repeat (30 sts) Round 26 [sc x4, 2-sc dec] repeat (25 sts) Round 27 [sc x3, 2-sc dec] repeat (20 sts) Round 28 [sc x2, 2-sc dec] repeat (15 sts) Stuff the tree, being careful not to overstuff Round 29 [sc x1, 2-sc dec] repeat (10 sts) Round 30 [2-sc dec] repeat (5 sts) Fasten off and pull the tail up through the body using the yarn needle. For the trunk Round 1 Create a magic rig with 6sc. Pull ring closed (6 sts) Rounds 2-4 [sc in each st around] (6 sts) Fasten off and attach to the bottom of the tree Why not increase the number of rounds to make a bigger tree, or use different embellishments to decorate it? The possibilities are endless!
0 Comments
Leave a Reply. |
Archives
October 2016
Categories |
 RSS Feed
