
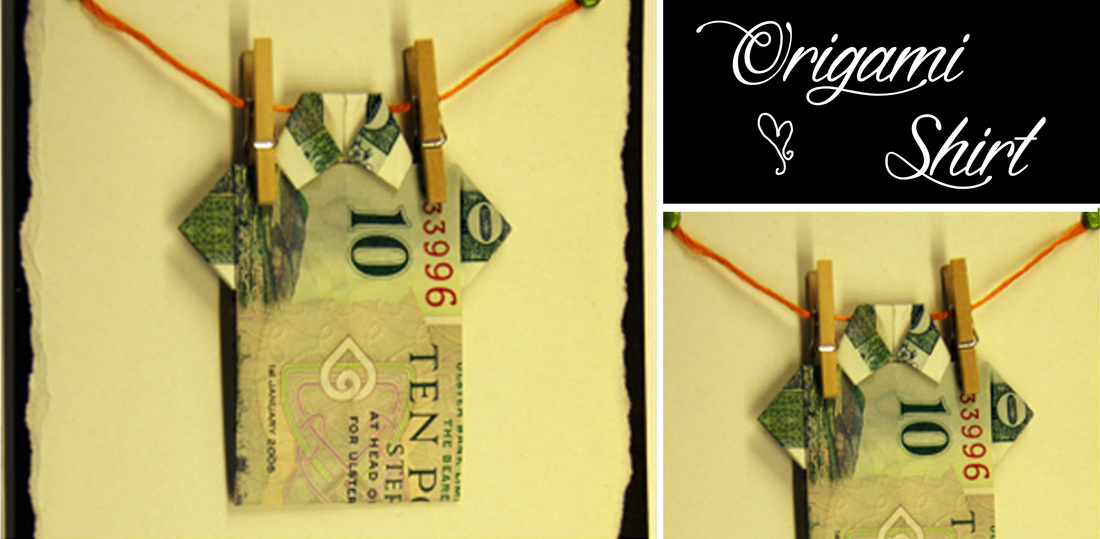
 Money as a present... it's great, but it could probably be a bit more exciting, right?! I came across this piece of origami a few years back and thought it was brilliant. Then I figured, since there's no adhesive involved...wouldn't it be a great addition to a handmade card?! If you're into cool little things like I am, give it a go and pass it forward. If you can't quite get the hang of it, but would like it made into a personalised card, drop me a line :)
To make this a bit easier, I've used paper with two recognisable sides (one patterned, one white) - doing it with a note can get a little confusing and hard to explain!
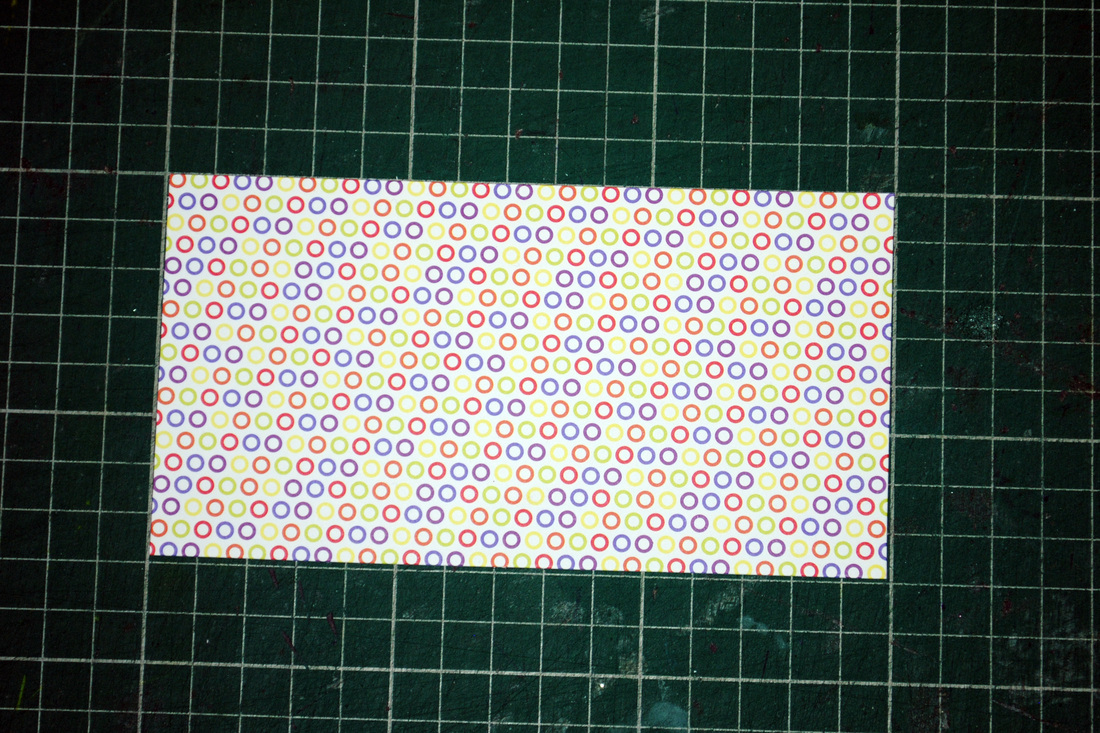
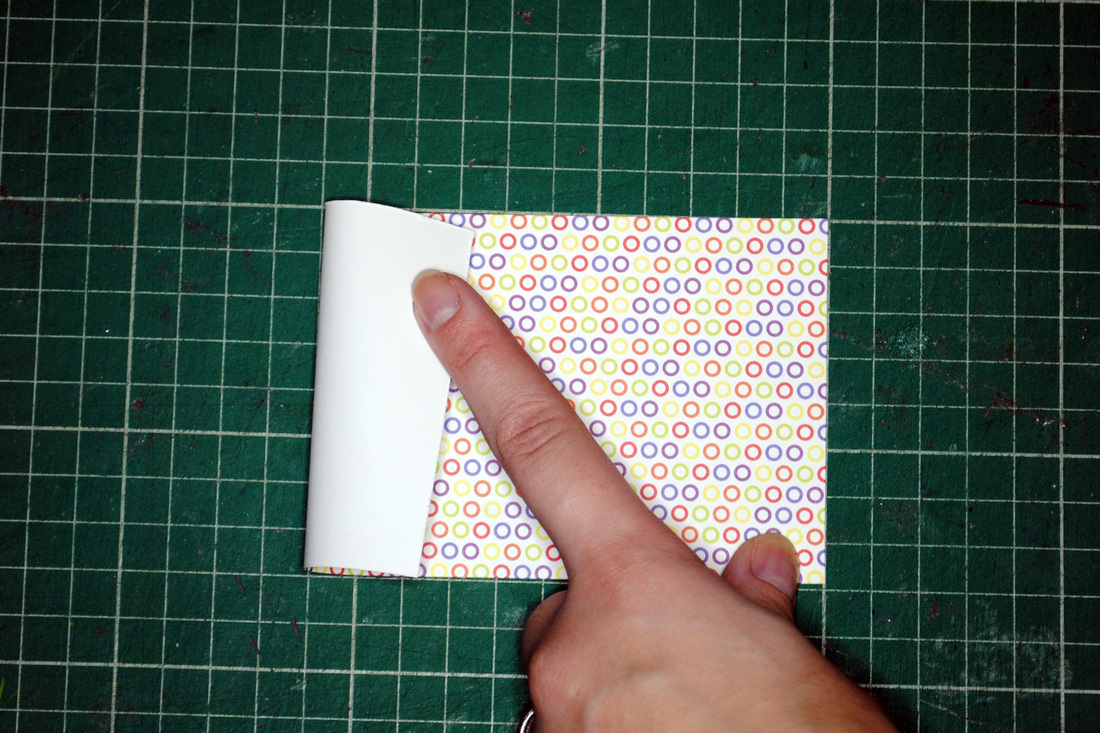
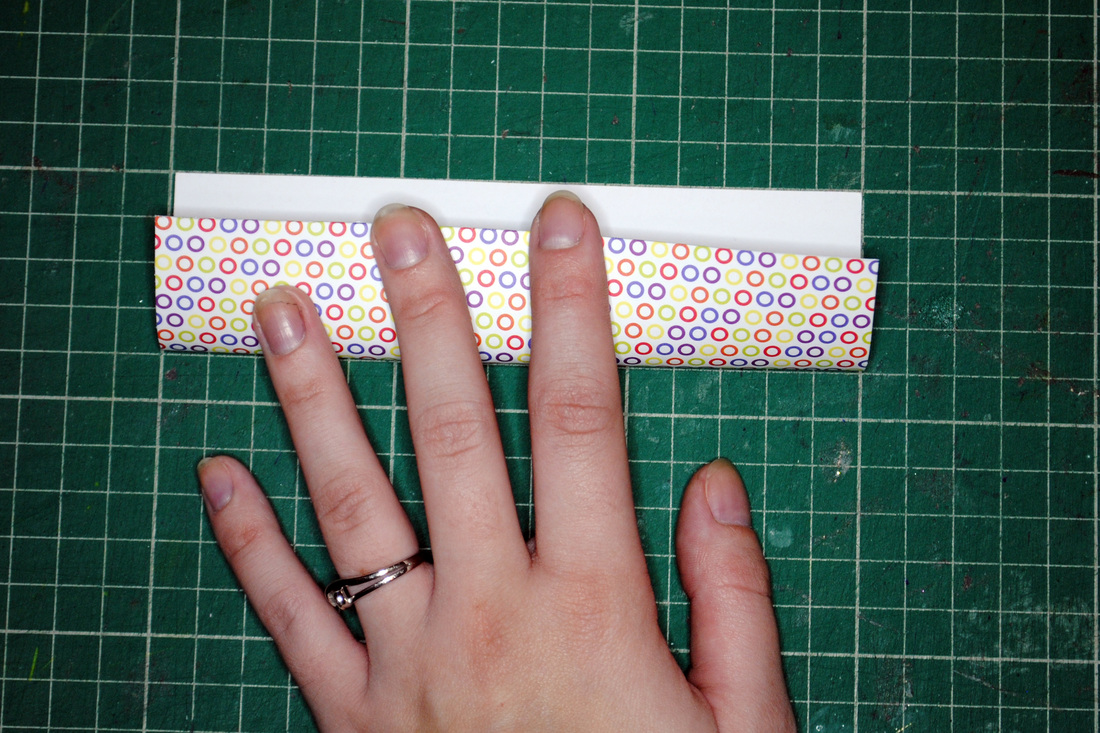
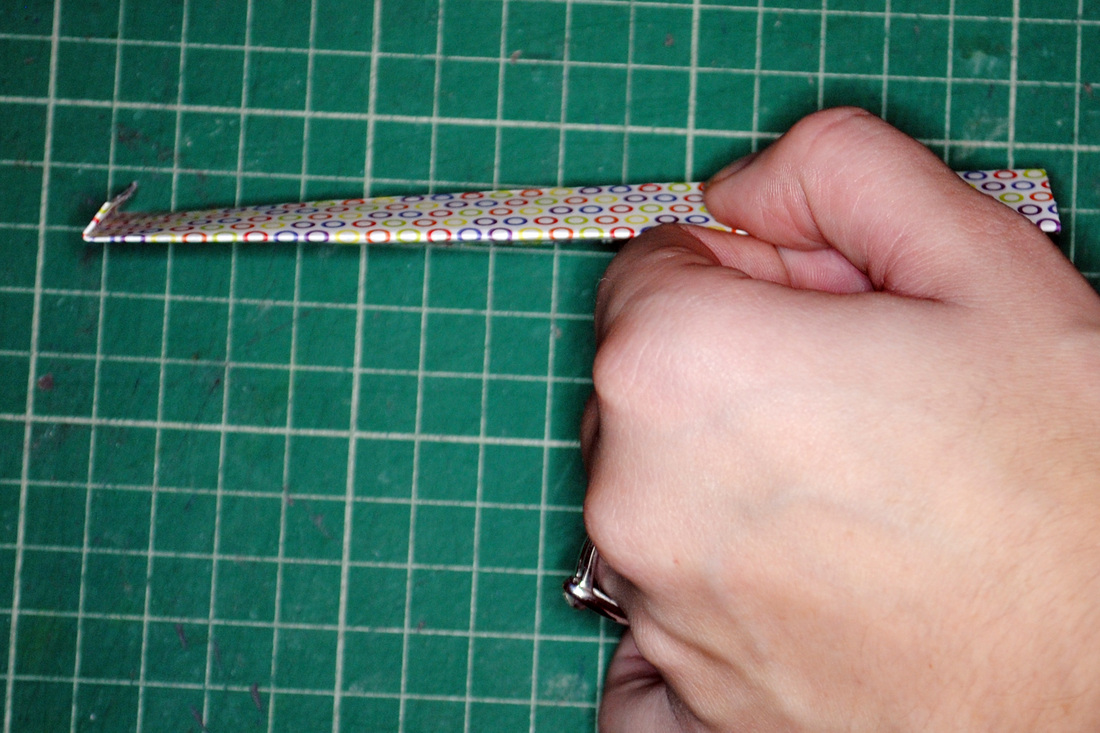
To start with, fold the paper in half, crease and open flat again. NOTE - whatever pattern you want to be seen on the shirt should be kept to the outside, like my patterned paper. 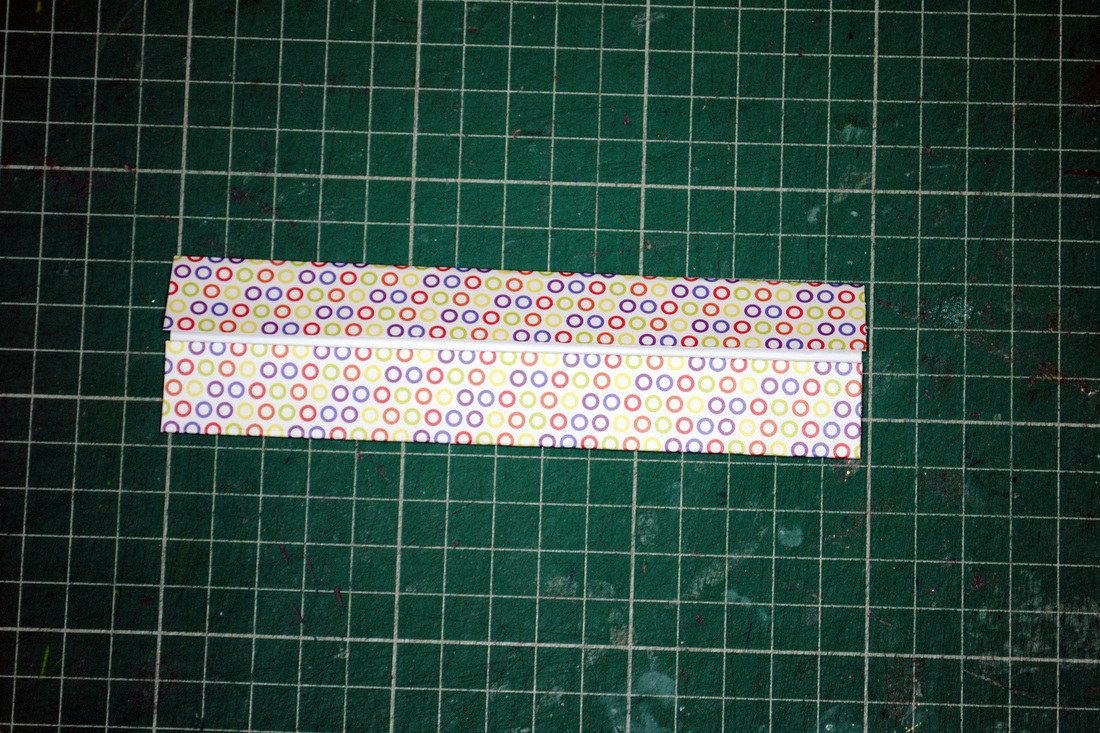 Fold the two outer edges into the middle line to meet each other, creasing the folds well.
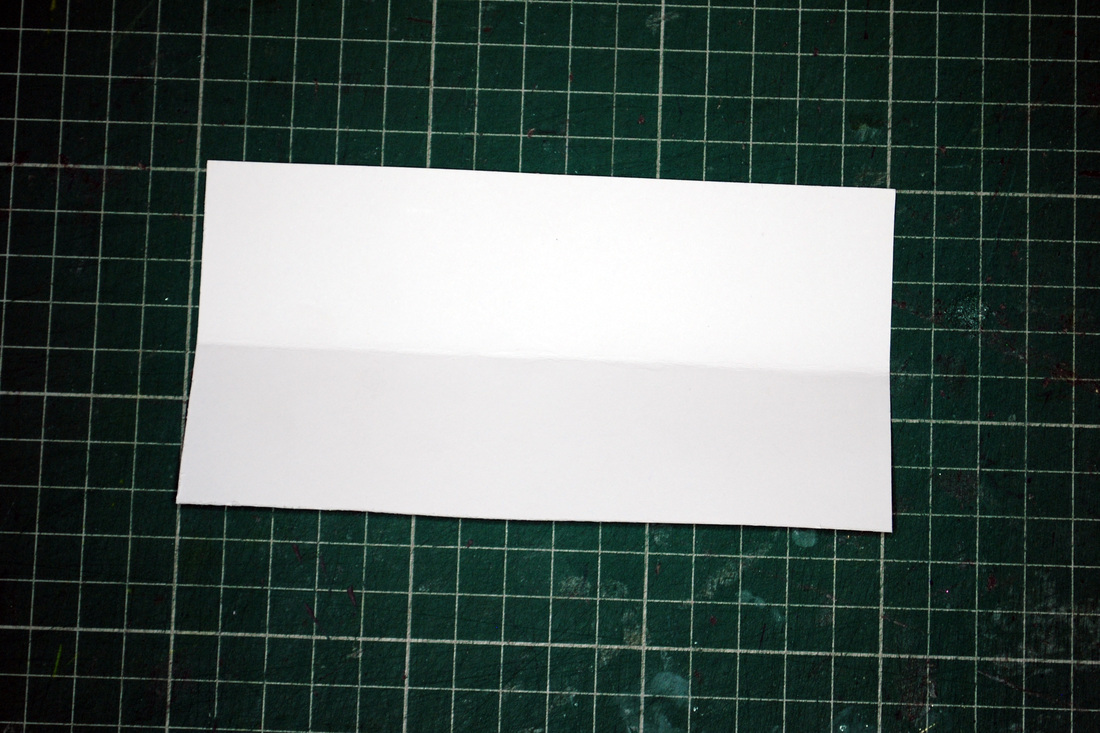
Turn the page over and fold one of the shorter edges in (roughly 5mm). It should be folded on top, so that the centre join is now on the opposite side, facing down.
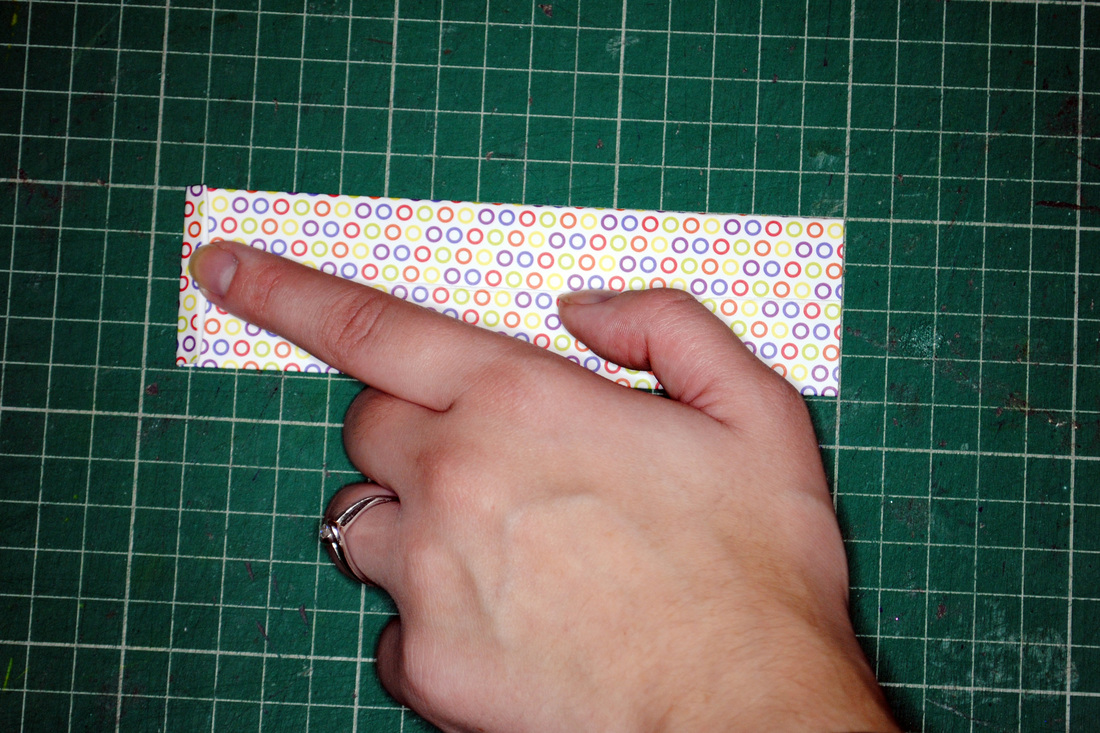
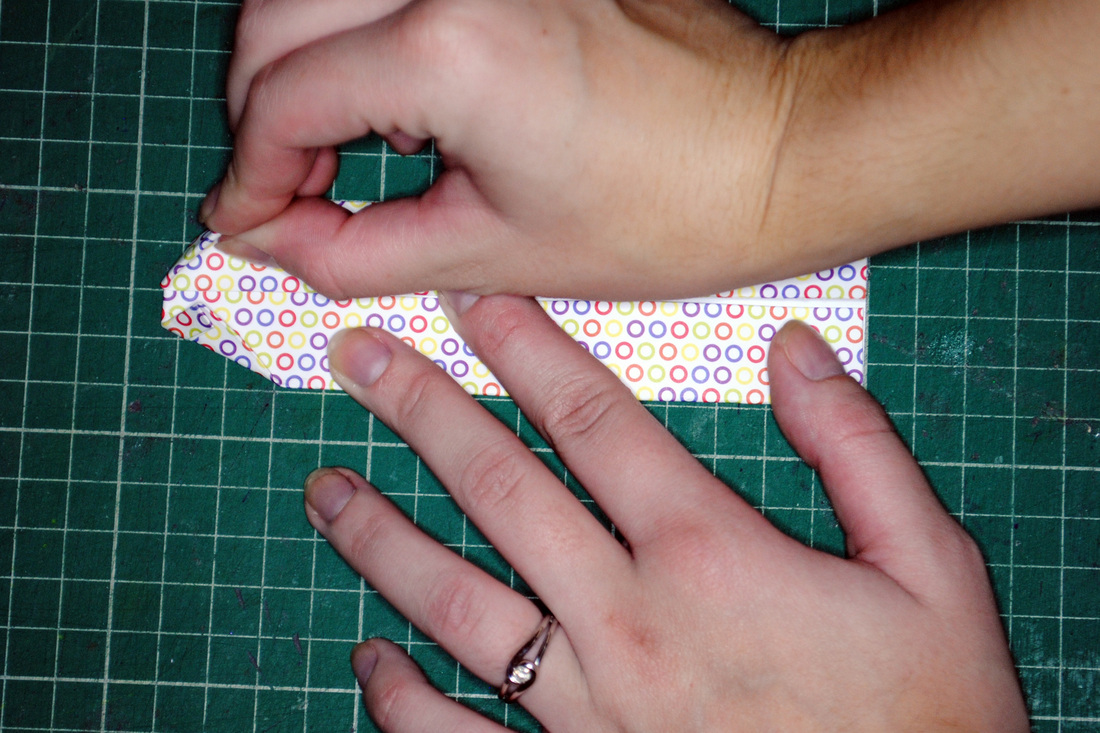
Turn it back over, so the 5mm fold is facing down, and the centre crease is on top. Fold each corner in to meet in the middle, creasing well - this forms the collar of the shirt.
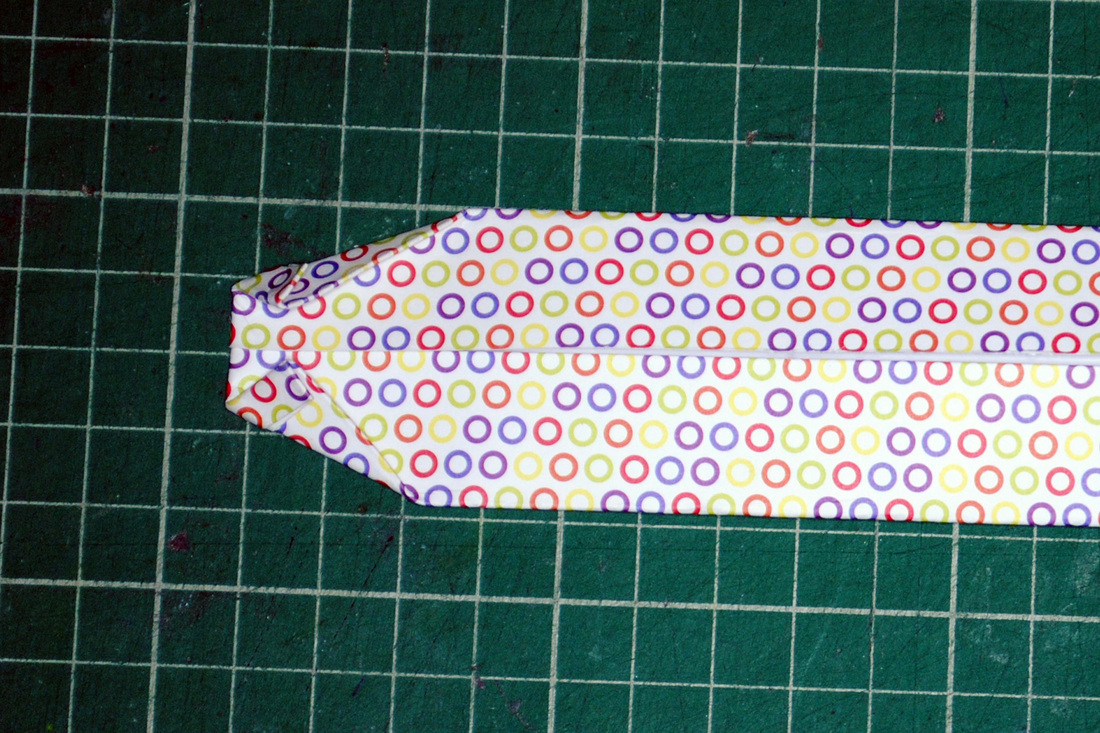
With the collar and centre join still facing up, fold the shirt into thirds from the bottom. It should now tuck snuggly under the collar, and look a bit like a shirt folded in a packet.
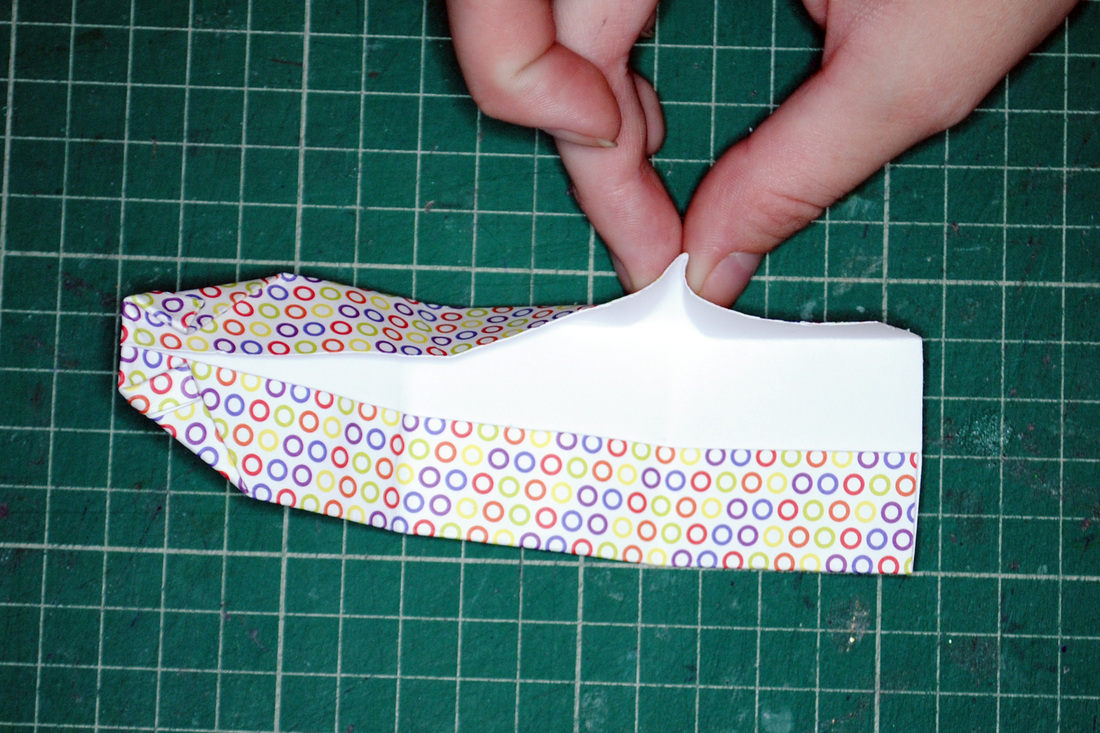
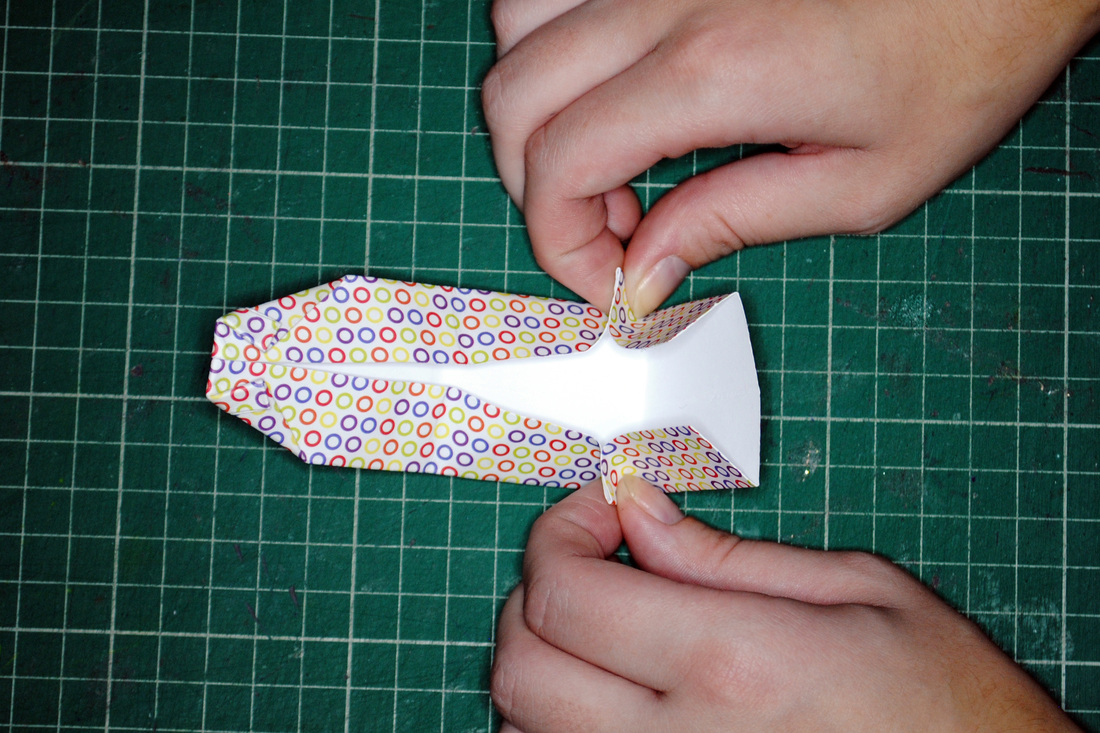
Now it's time to make the sleeves, which is a little tricky. Unfold the shirt to the bottom, so that all the thirds are visible. At the crease of the first third, open it slightly and pinch together on each side to create a fold...
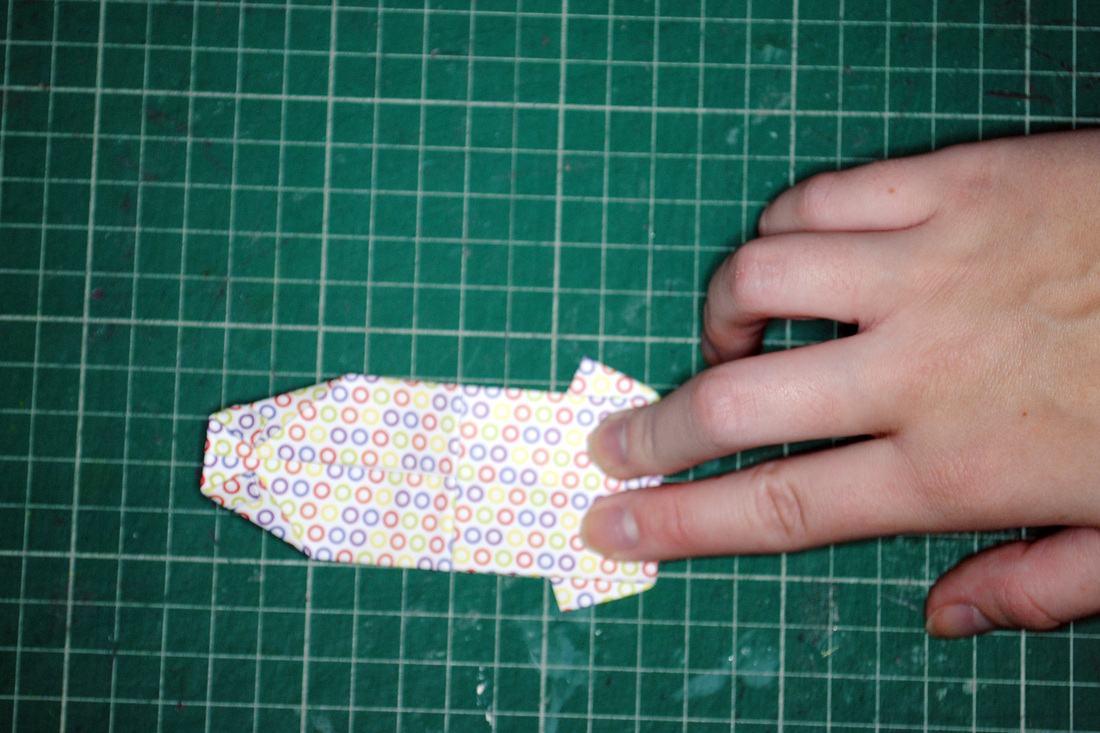
Pull the two triangles out, and fold up the first third to flatten down. If you don't get it right first time, just give it another go - it is a bit difficult! Now that it's flattened, it can be folded back up and tucked under the collar, and that's you finished! 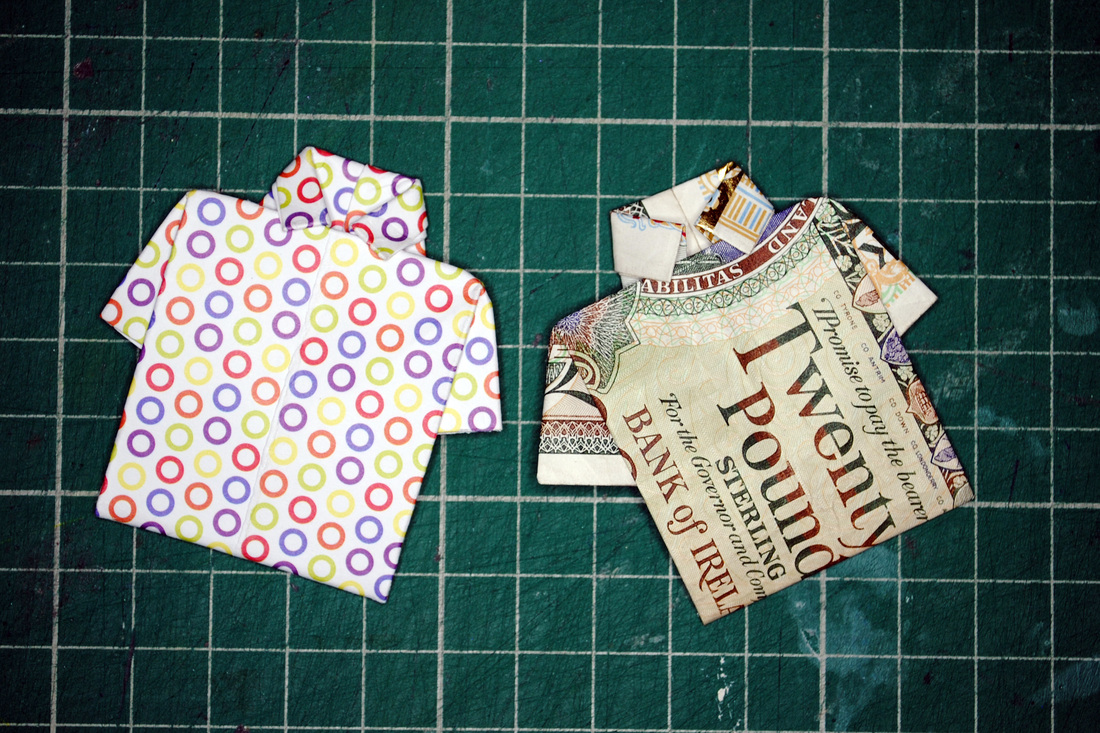
0 Comments
Leave a Reply. |
Archives
October 2016
Categories |


 RSS Feed
