
 Anyone who knows me will know that I love recycling anything I can find and making it into something new. But you don't need to know me to understand what it feels like to have that 'where's the wrapping paper?!' moment when you're just about to head out for celebrations. We've all been there. I once received a gift wrapped in pages from a National Geographic magazine, and I just thought it was amazing! Not only was it recycling (woohoo!), but I got to look at some amazing photos in the unwrapping process. It was, by far, the most exciting way I've ever received a present. Then I came across this wee idea, and thought it was so useful that I had to share it. Rather than rushing out to buy some paper, why not make your own gift bag out of things you likely already have at home? Consider it pre-loved - you loved reading the newspaper, playing the music or looking through the magazine, now you're passing it on for someone else to love too. I also love the fact that every bag you make will be different - you'll never find another the same! This really is such an easy make. All you need is a little bit of time (the half an hour before you go out is even more than enough!), some form of paper, a ruler and some glue. Simple.
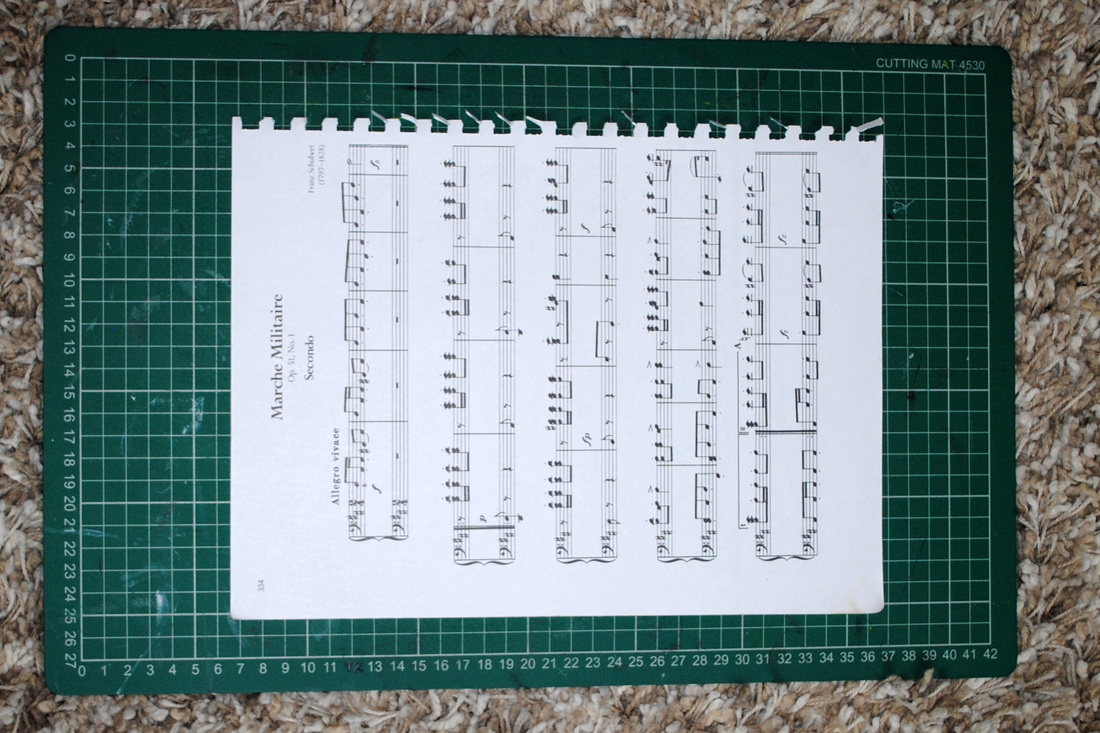
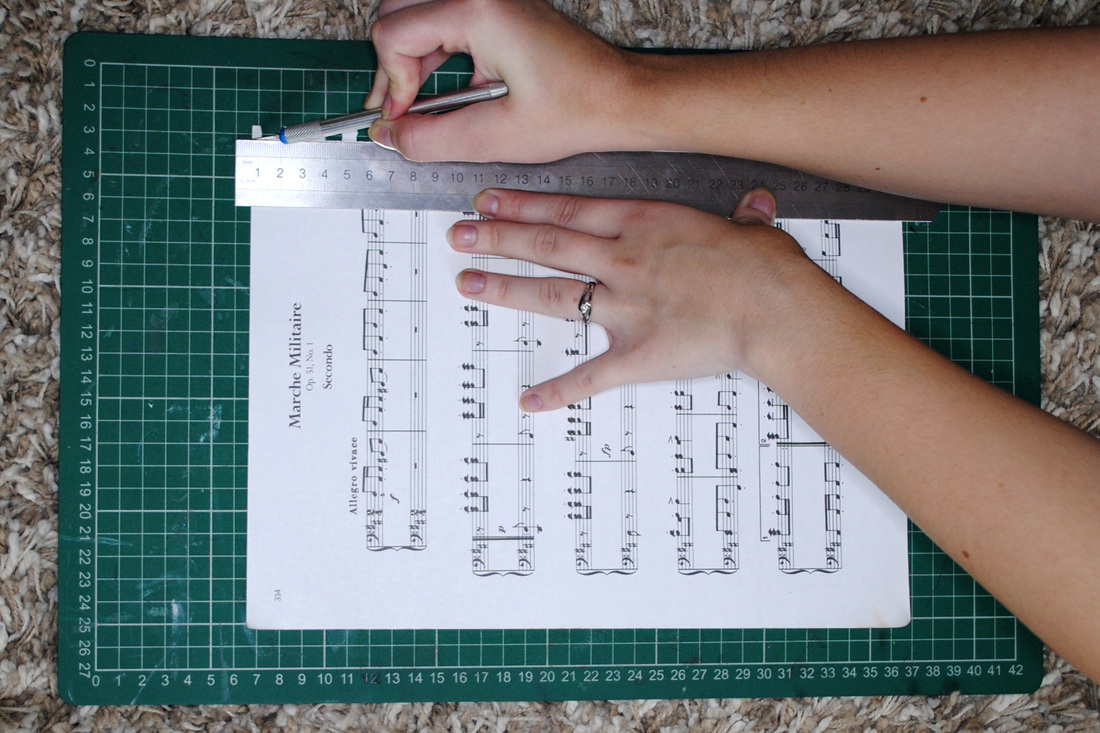
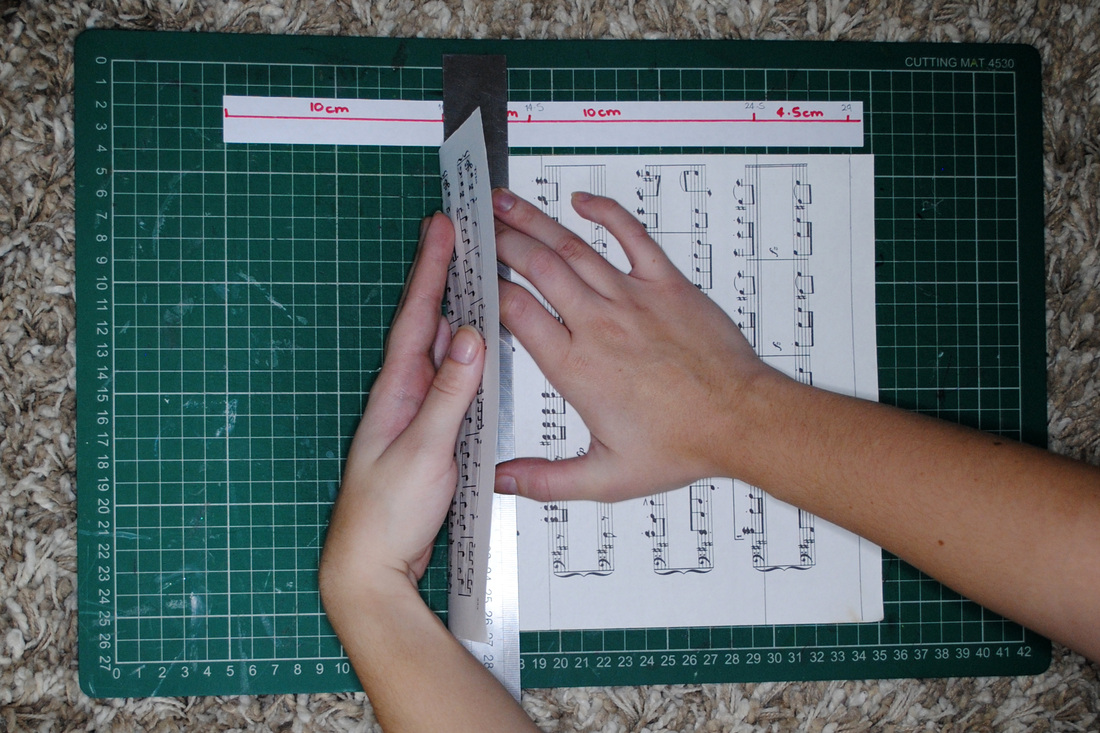
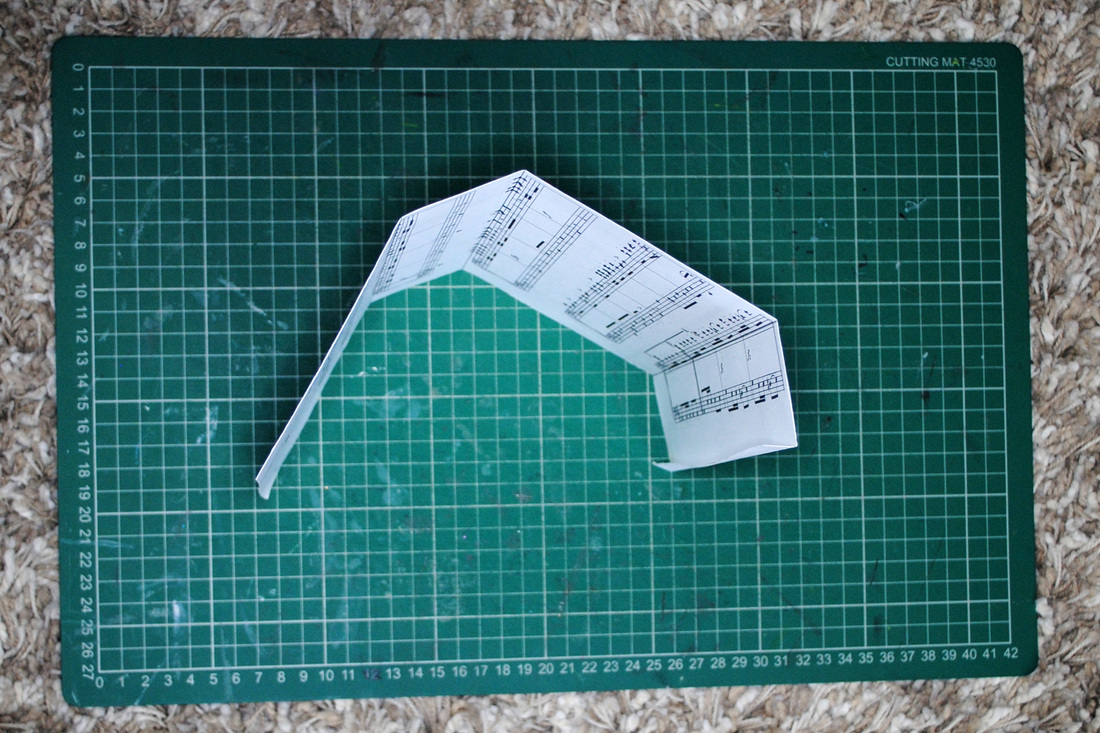
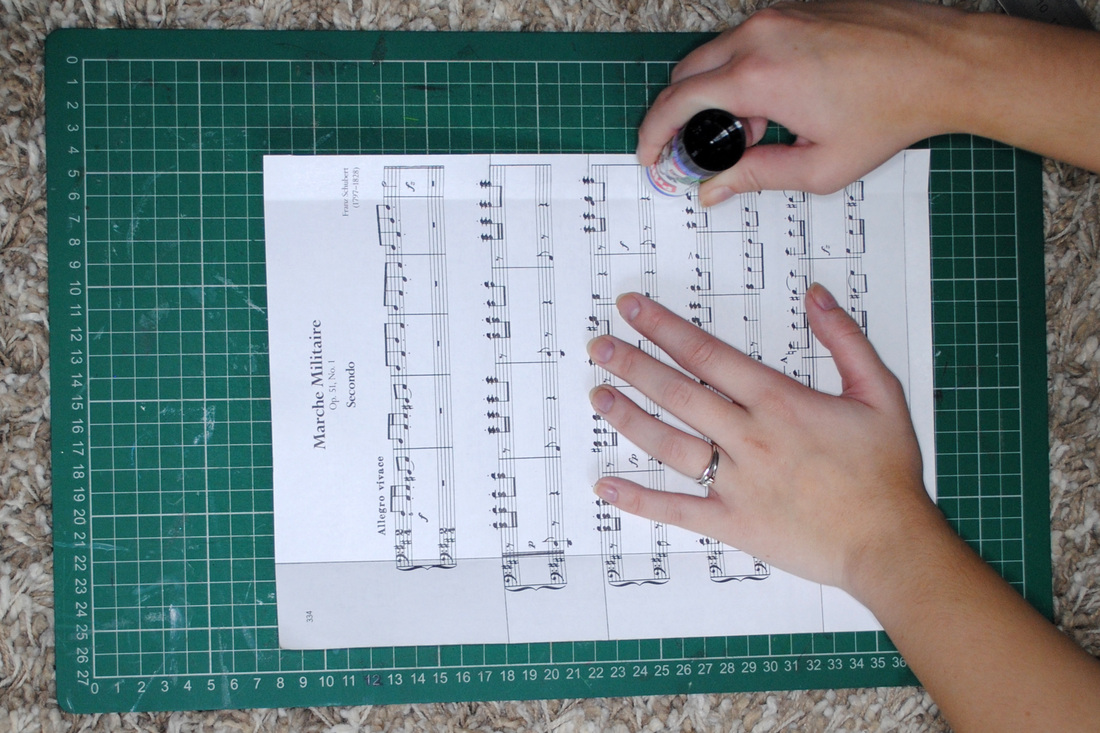
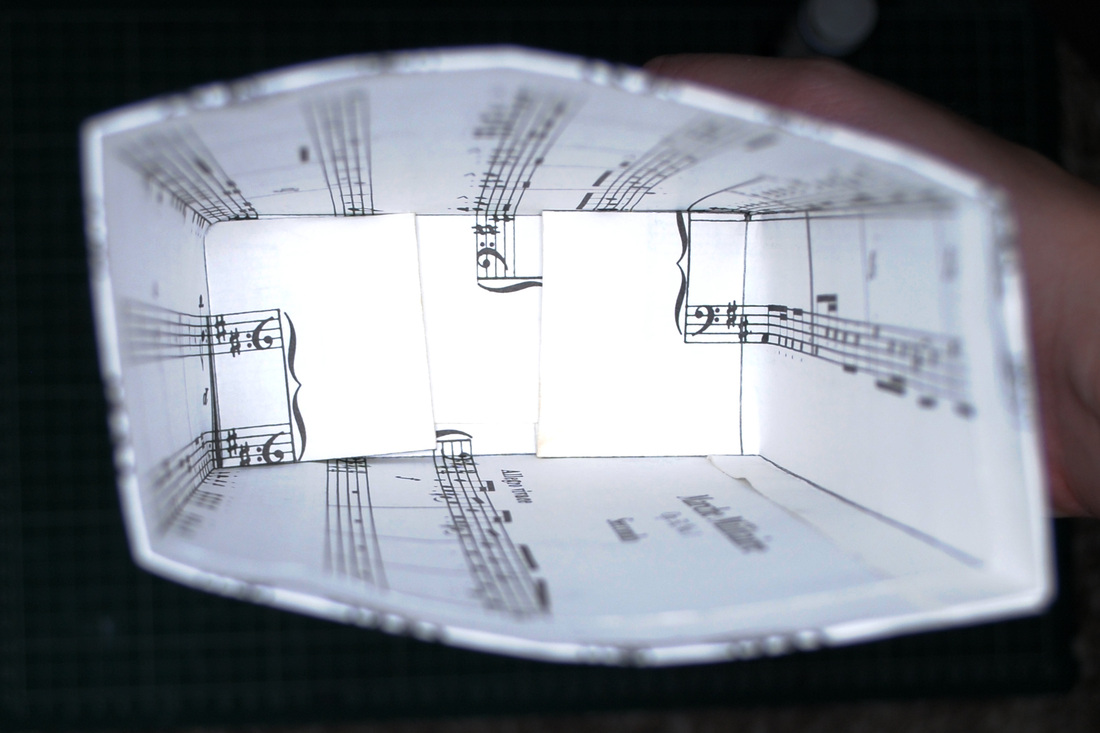
For my bag, I chose to use a page from an old music book I found in the house. This was slightly bigger than A4 size, and makes a small gift bag. For a larger bag, you'd need to use newspapers or A3 sized pages. This paper was also heavyweight, which gives quite a strong structure, but if you're using thinner paper (such as a newspaper), place two sheets on top of each other to strengthen. To start with, as this was torn from a book, the edges needed to be removed. Rather than cutting them off individually with scissors, I used a steel rule and a craft knife which gives a good straight edge. If you don't have these, scissors do the same job. 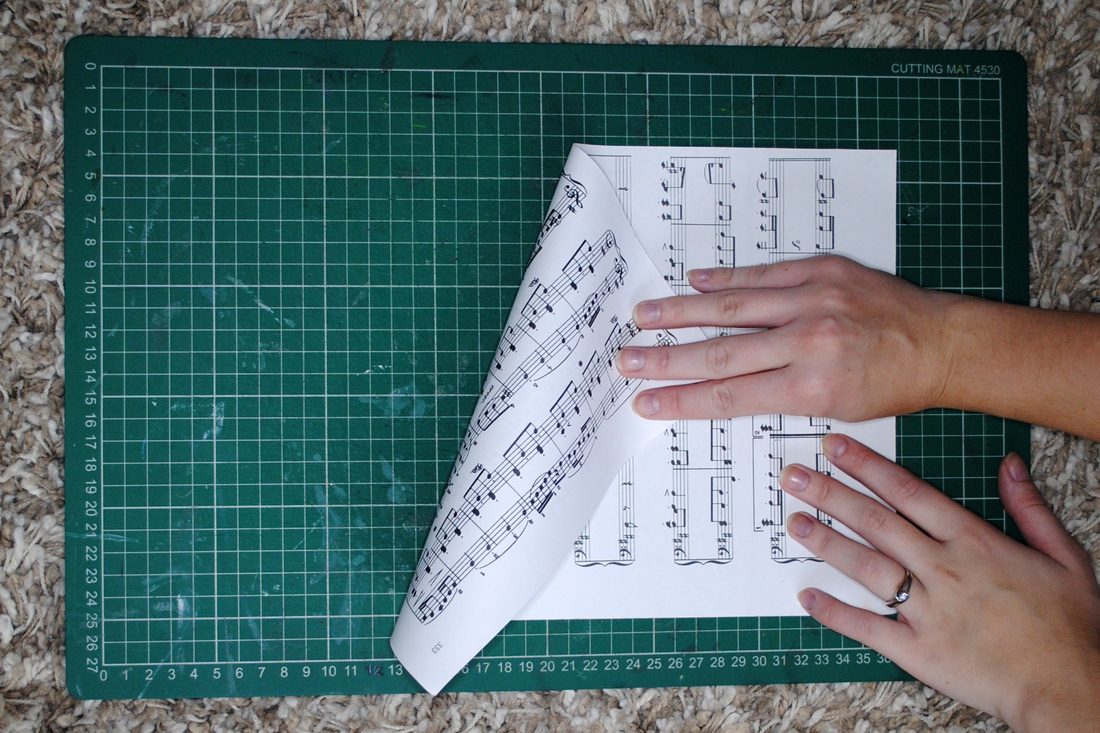 The design you want on the outside of your bag needs to be face down - whatever you can see on top will be on the inside of the bag. This will come down to the paper you've chosen to use, and personal choice on the design. 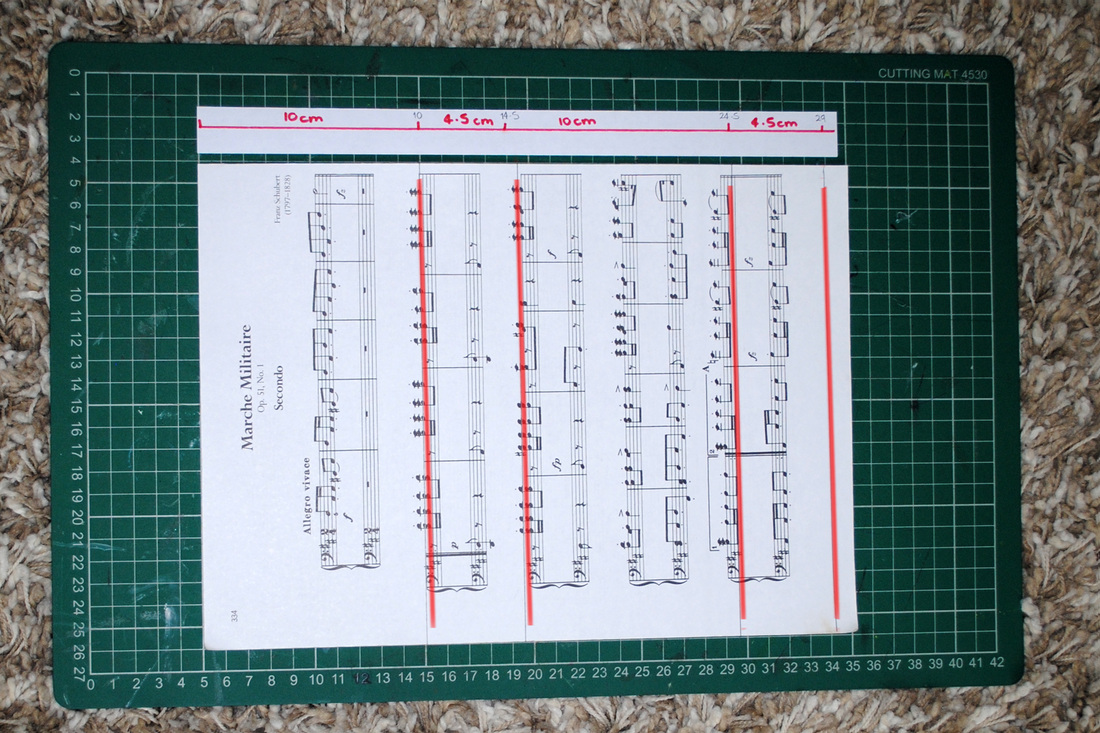 Now comes to the measurements. Rule a line (in pencil) at 10cm, 14.5cm, 24.5cm and 29cm. The two larger sections will be the front and back, while the smaller ones will be the two sides of the bag. The remaining strip of the bag (far right) will create the tab used to glue the bag together. NOTE: I have chosen these measurements for an A4 page - if you are using a bigger page, or want a different shaped bag, you can experiment with them. Just make sure there are two sets of the same size strip alternating, as well as leaving a little tab at the end.
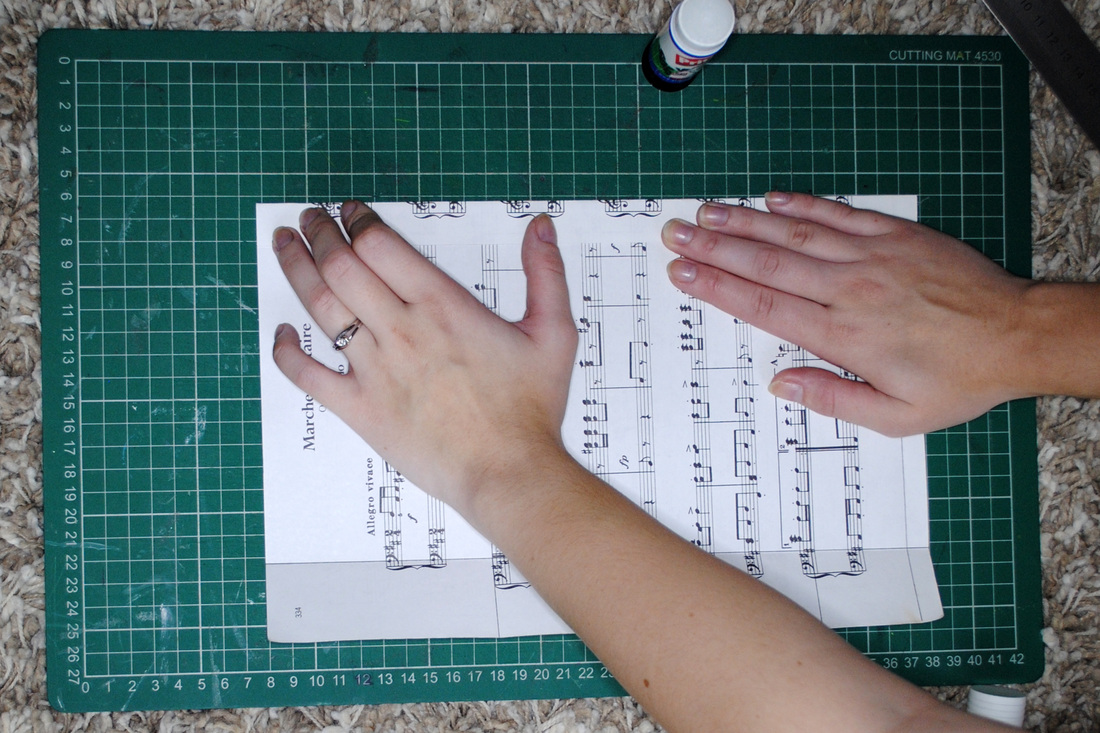
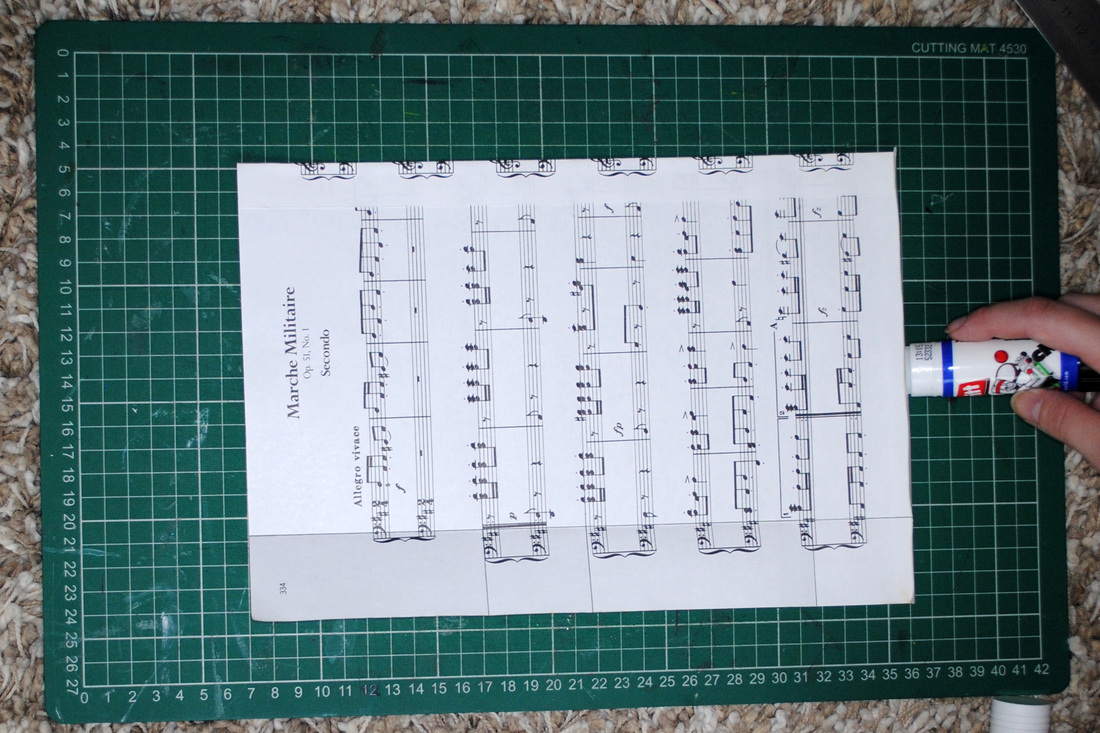
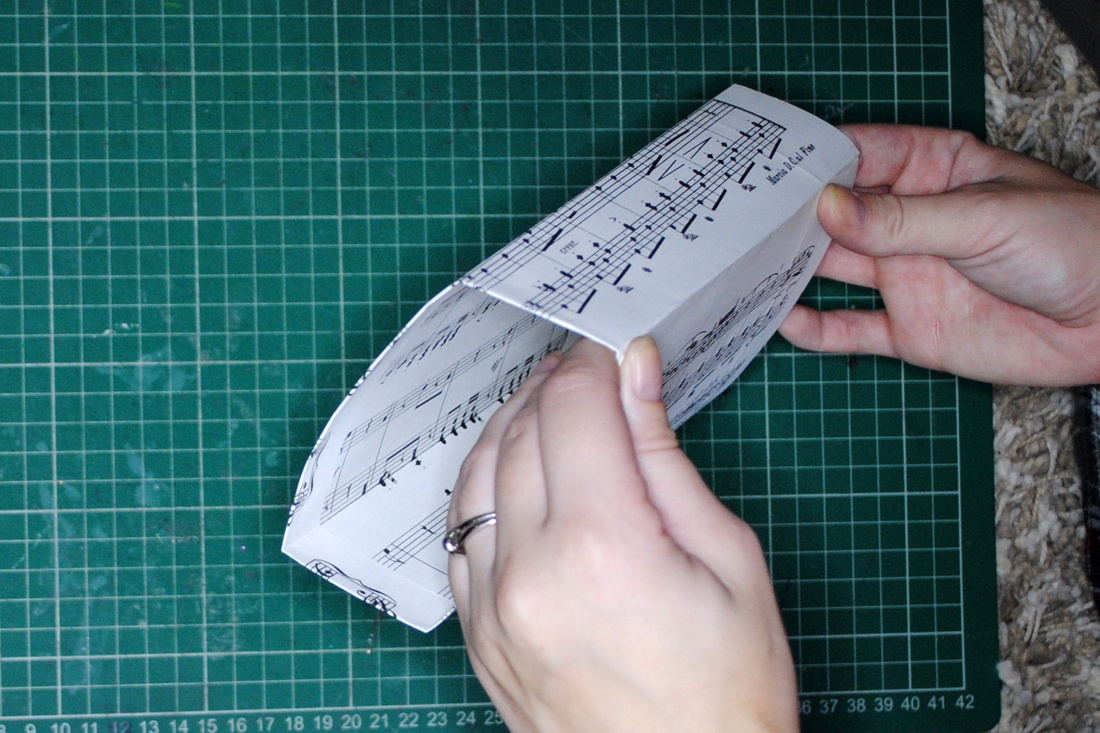
Place the ruler along each line and fold up, creasing a good crease. (If you are using 2 pages from strength, make sure both pages are folded up together). Now you should see 5 different panels created 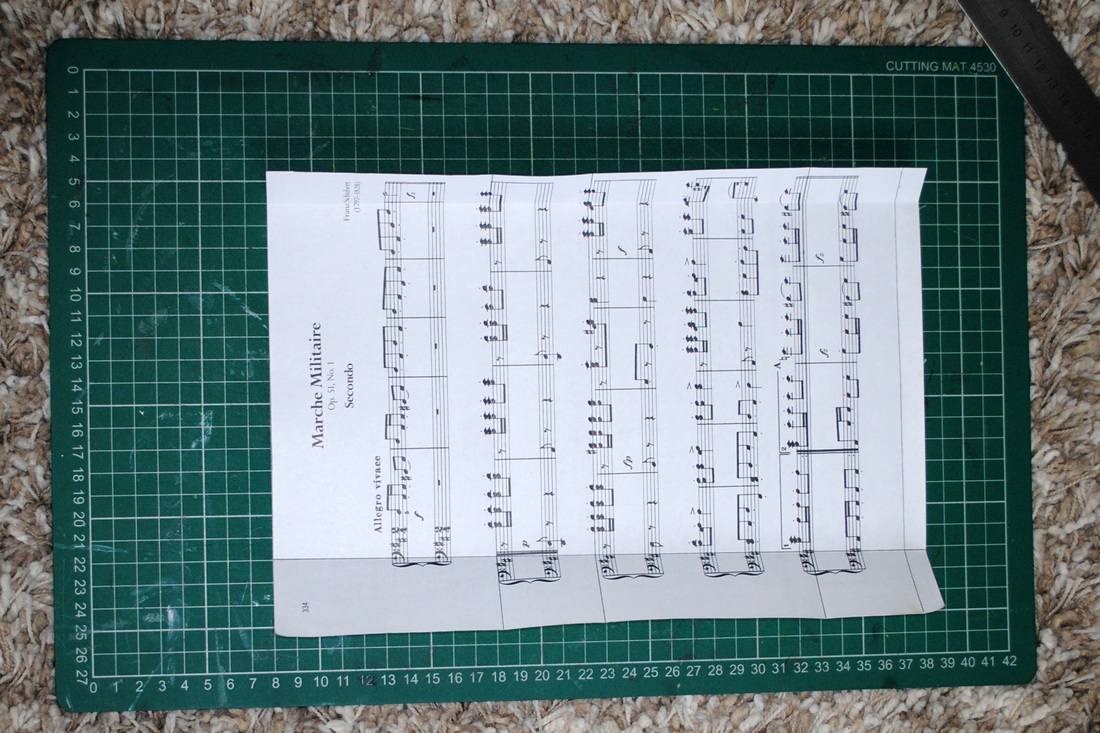 Fold down the top and bottom edges: The size of the top edge isn't greatly important. I folded mine down around 2cm. The bottom is a bit more important, as it will create the bottom of the bag - you don't want it to be too short to seal. I find this should be similar to the size of the smaller strip (as my smaller strip measured 4.5cm, I folded up the bottom around the same measurement).
Apply glue to the top strip, fold in and press down firmly. Leave the bottom strip free.
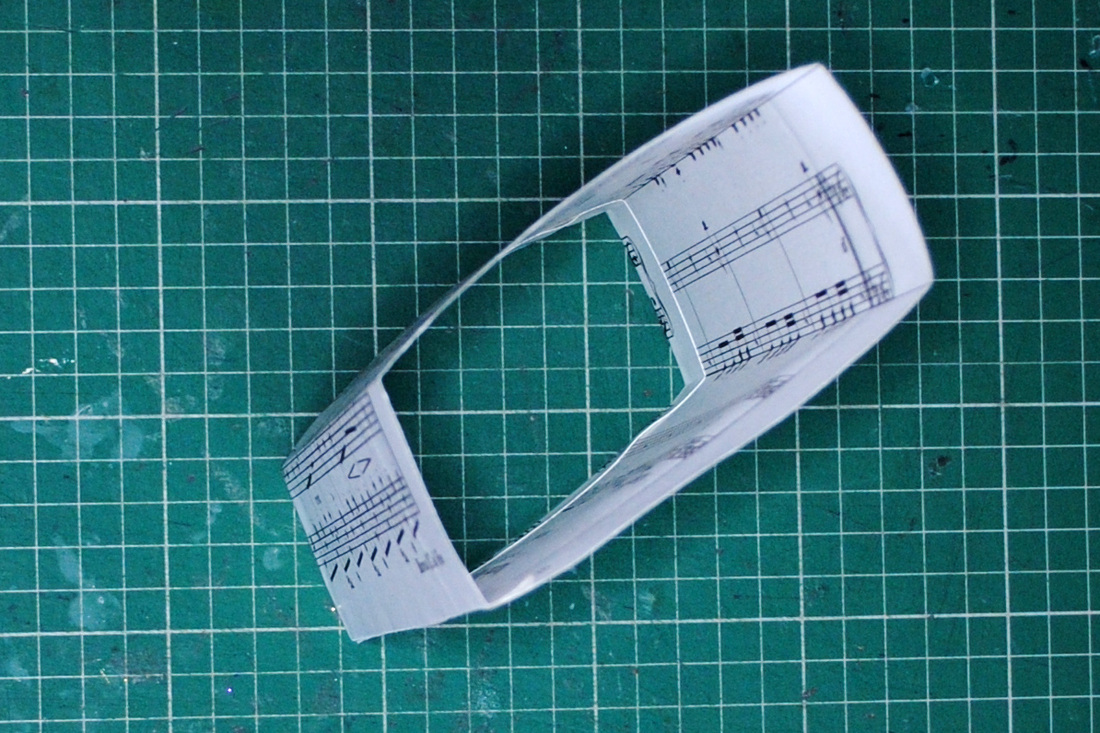
Apply glue to the outer edge (the side facing down) of the tab on the right, and pull the bag round into shape. Fix to the inside of the bigger strip it meets, and hold until set.
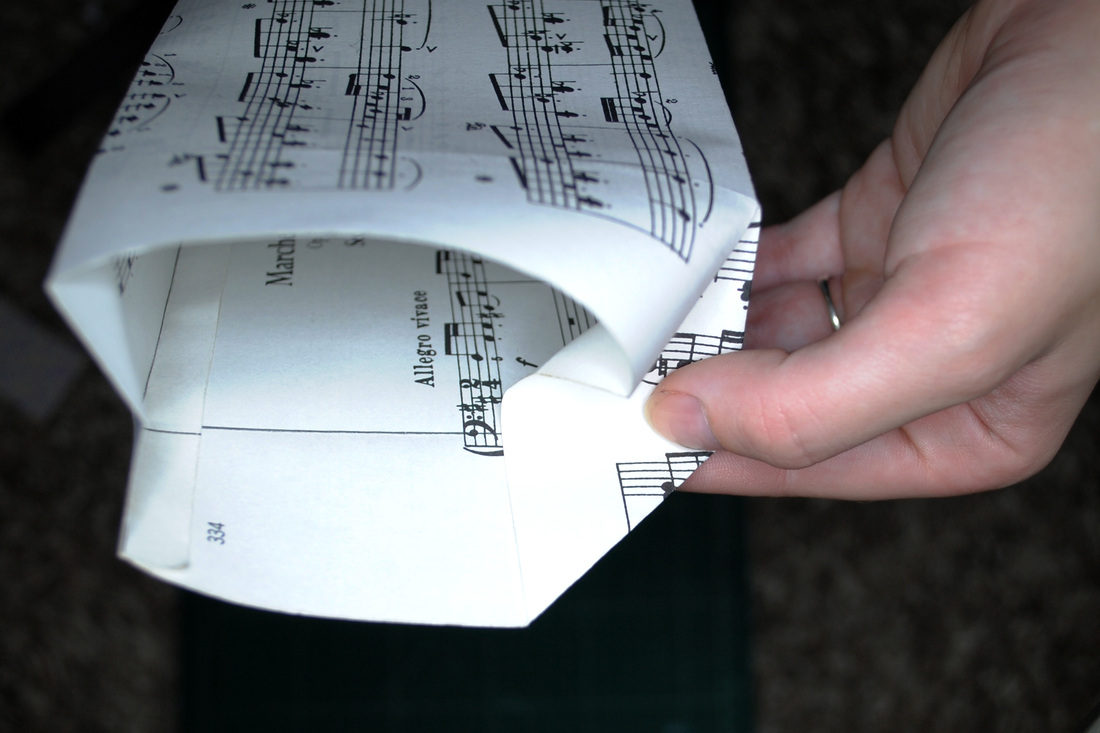
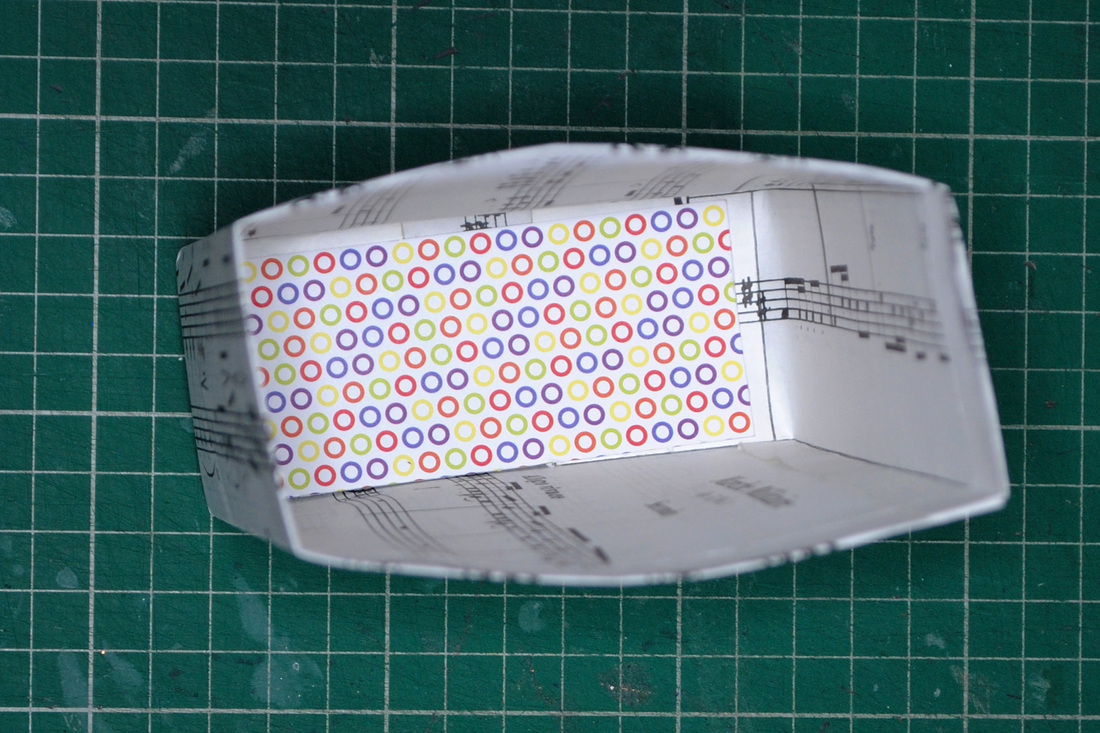
Now to do the base of the bag. Like wrapping a present, fold in the two edges to create to triangular tabs. To make things a bit easier, you can focus on making triangles by lining up the creases on the inside. Glue the outer tab and fix firmly to the other. It helps to put one hand on the inside of the bag to press against.
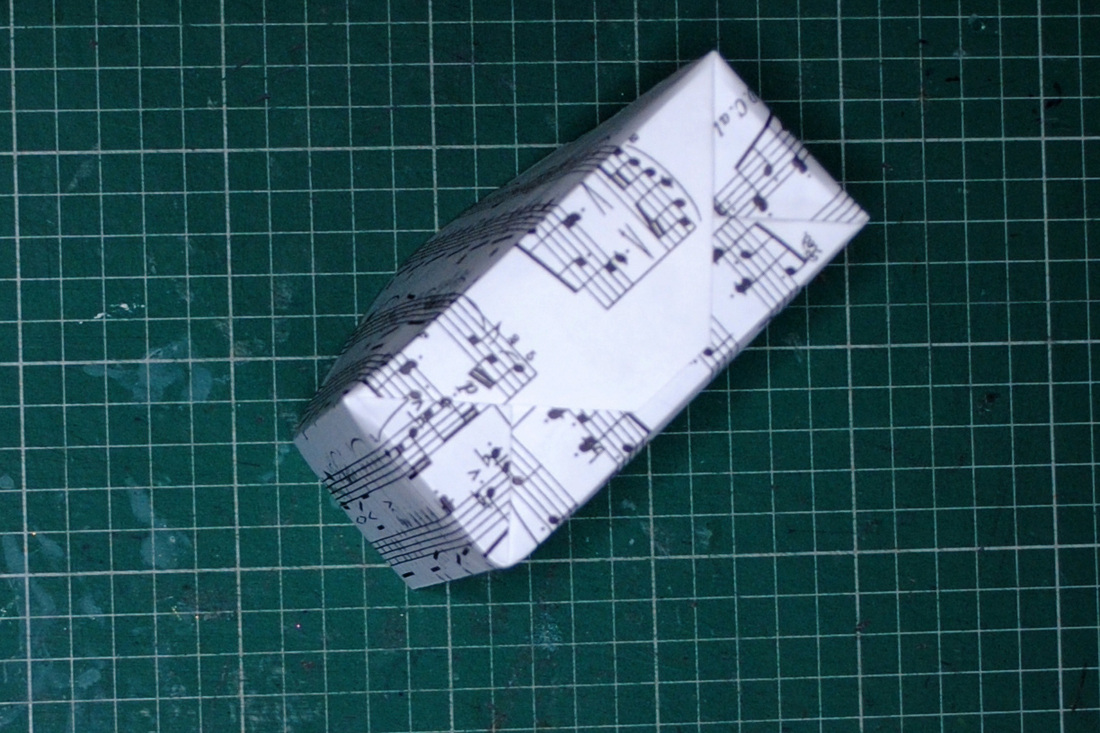
The bottom should now be neatly secured. While it isn't necessary, gluing a small strip of card to the base inside both neatens it up and strengthens it. 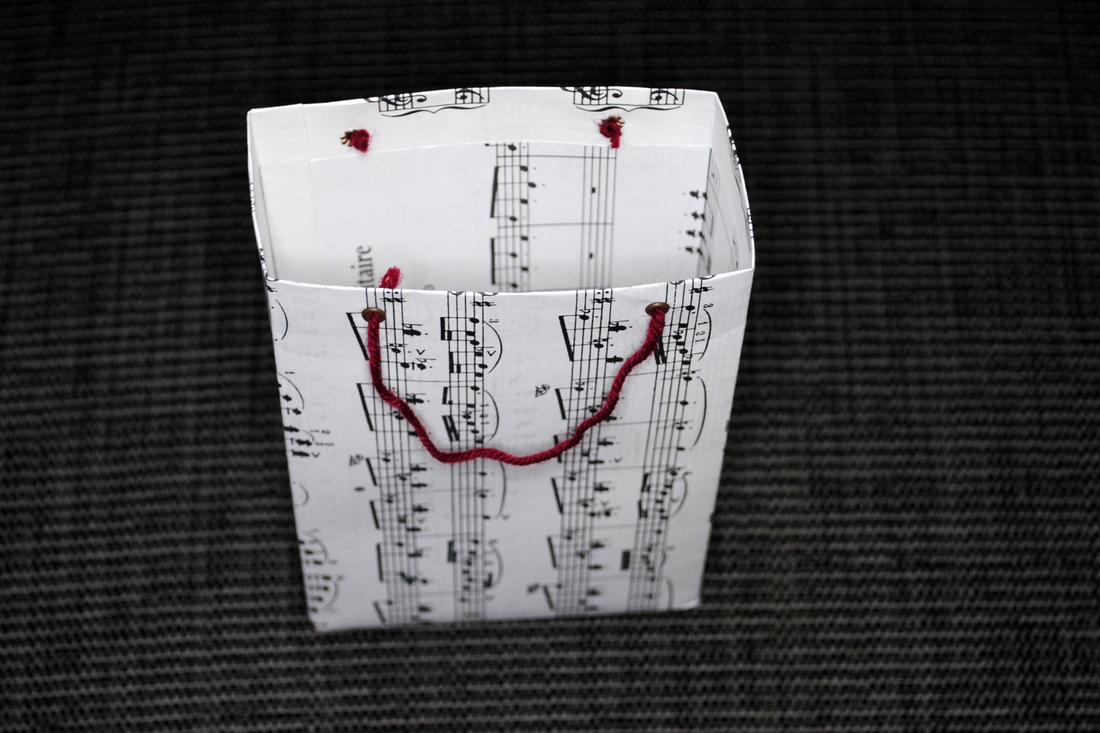 To finish the bag, add some handles. For this, anything can be used: wool, string, lace, ribbon...the list is endless. I added eyelets to my bag to add that extra touch, but if you don't have the tools to do that, a hole punch does a great job too. Thread through your handle and tie in a double knot to ensure it doesn't slip out. Now just add your gift and make someone's day! 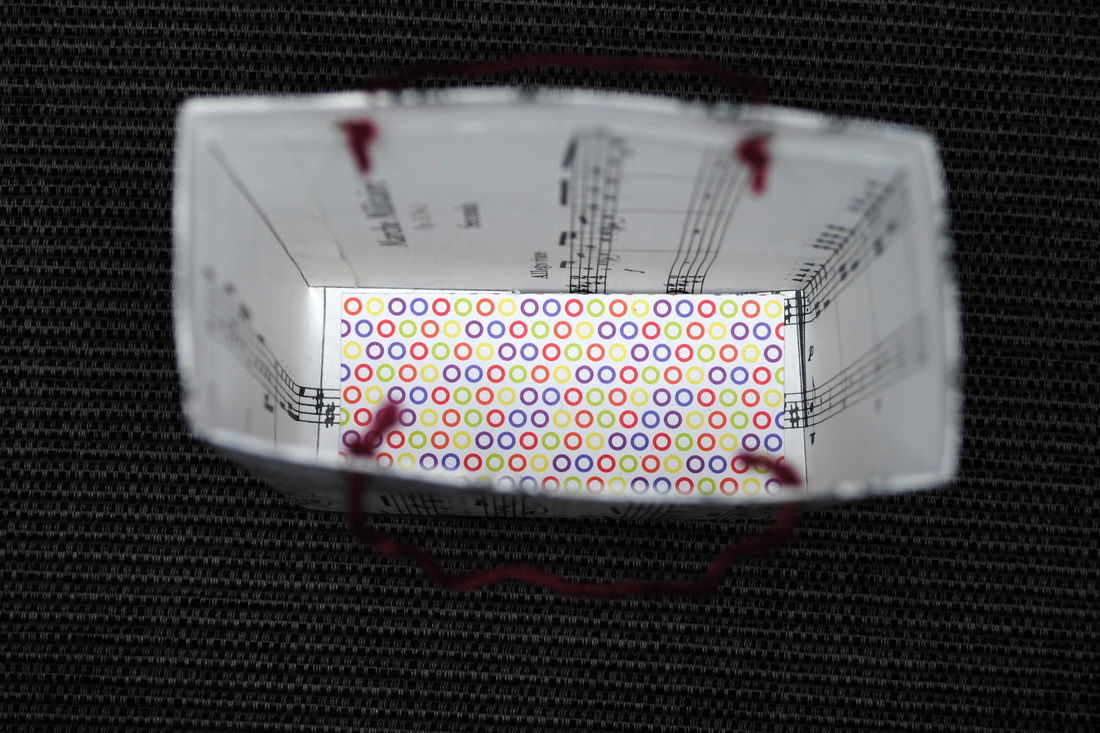
1 Comment
Margaret Willison
18/10/2013 06:41:49 am
What a great idea Sara, will have to try this. Leave a Reply. |
Archives
October 2016
Categories |

 RSS Feed
