
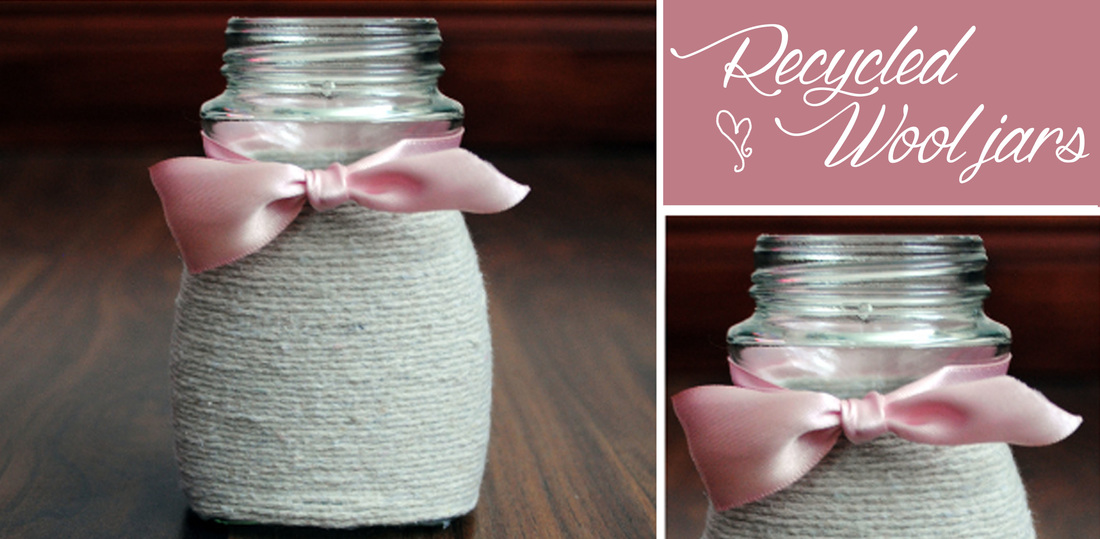
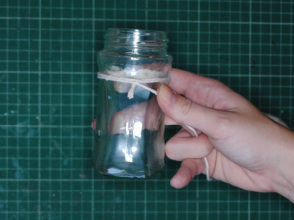
 This sweet little vintage-style jar is perfect for just about anything... decoration on a shelf, a vase for a flower, cute storage for small items or even as a sweetie jar (as the lid still screws on!) They would make perfect additions to a quirky wedding, baby-shower, girly night in or could perhaps be sent as a gift with a flower just to show your appreciation for someone. While this needs only a few materials and a small amount of time, it's an impressive little bit of hand-made goodness. So, if you want to have a go at recycling some jars and making these beauties yourself, here’s how to go about it. 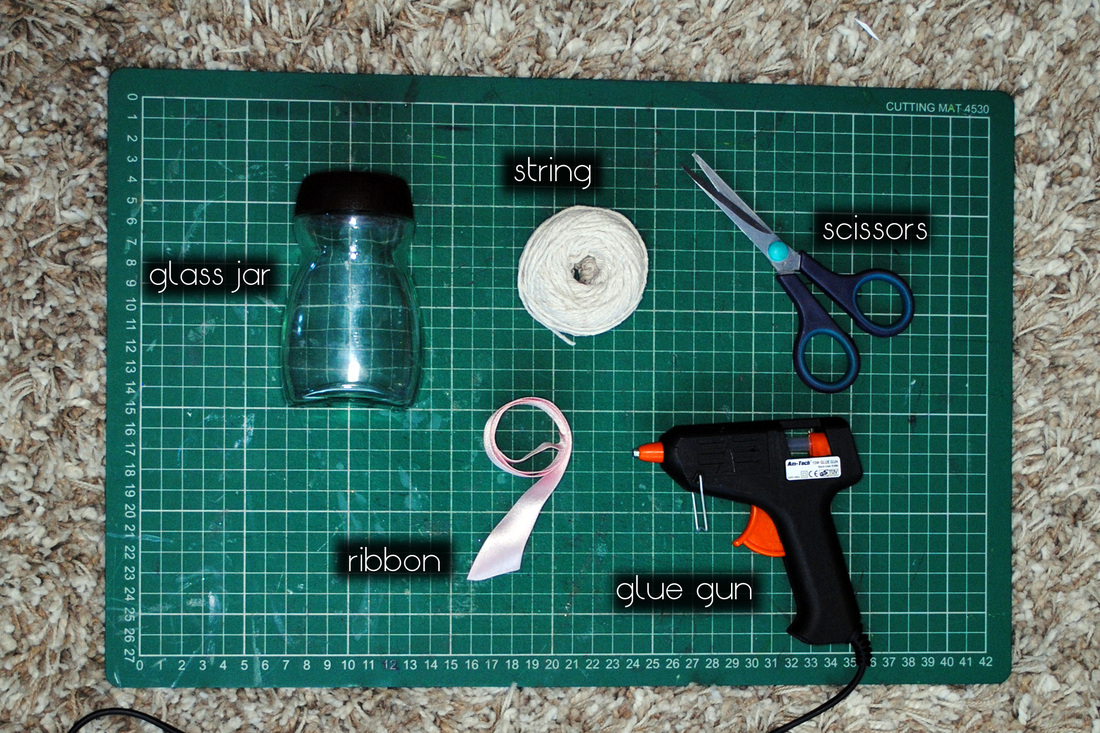 To start with, you need to choose the jar you want to use. While there are some beautifully shaped jars available, I find that the simple shapes work best – any lumps and bumps cause a bit of difficulty! Also, the jar needs to be glass to prevent it going out of shape, or melting with the glue gun. Any jar you find around the house is sure to work with a little bit of patience. For this, I used a small coffee jar which works a treat. You also need a glue gun, ribbon, a pair of scissors and whatever you want to cover your jar with. I used white string (cheap and cheerful), but wool or twine would work just as well – be creative!
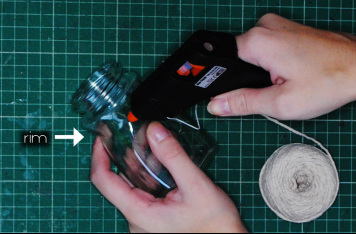
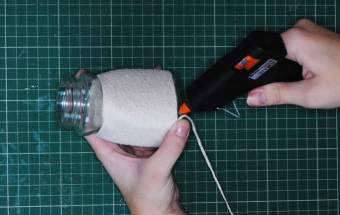
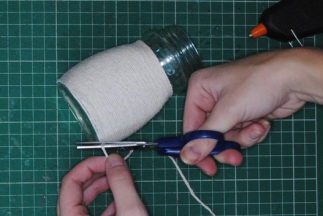
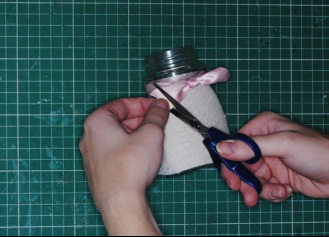
Of course, the jar needs to be cleaned out and the label removed. If you find that hot water won’t take off the stickiness of the label, try rubbing it with some vegetable oil – oddly helpful! Remove the lid, but keep it over if you’re using the jar as storage. Using the glue gun, apply a small amount of glue along the rim of the jar. Press the string down into the glue in a vertical line, and hold until it sets. As anyone who has used a glue gun knows, you need to act relatively fast as it sets pretty quickly. Fixing the string in this way means the start of the string will be hidden and will have a neater finish. NOTE: if using a straight jar, you can start as high up as you like. In this case, the concave shape makes it a little difficult to cover, so I started in the middle, where it starts to move out again. 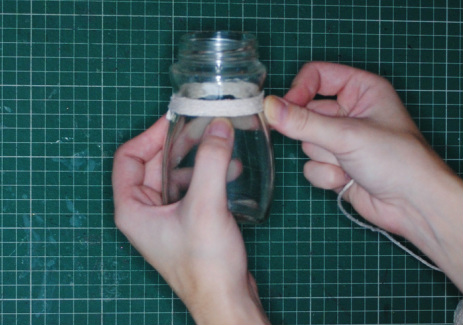 Take the string to the right and around the back of the jar, holding the glued piece in place. Cross over the vertical piece, and bring below the first row of string. Continue pulling the string around the jar, pulling tightly. Use your thumb to push up any bits that are not tightly against the previous row of string – you don’t want any gaps where the jar is visible.
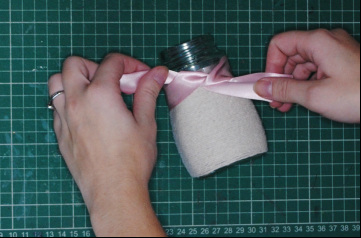
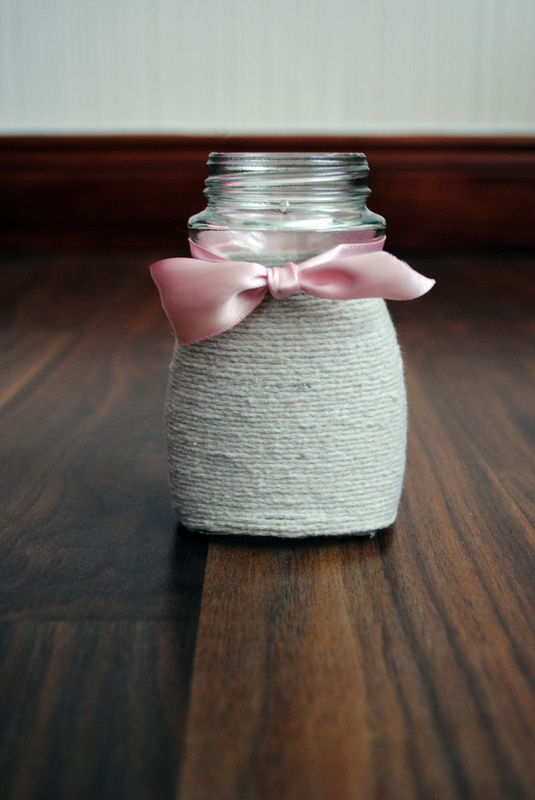 And there you have it – a simple, but beautiful jar!
0 Comments
Leave a Reply. |
Archives
October 2016
Categories |
 RSS Feed
